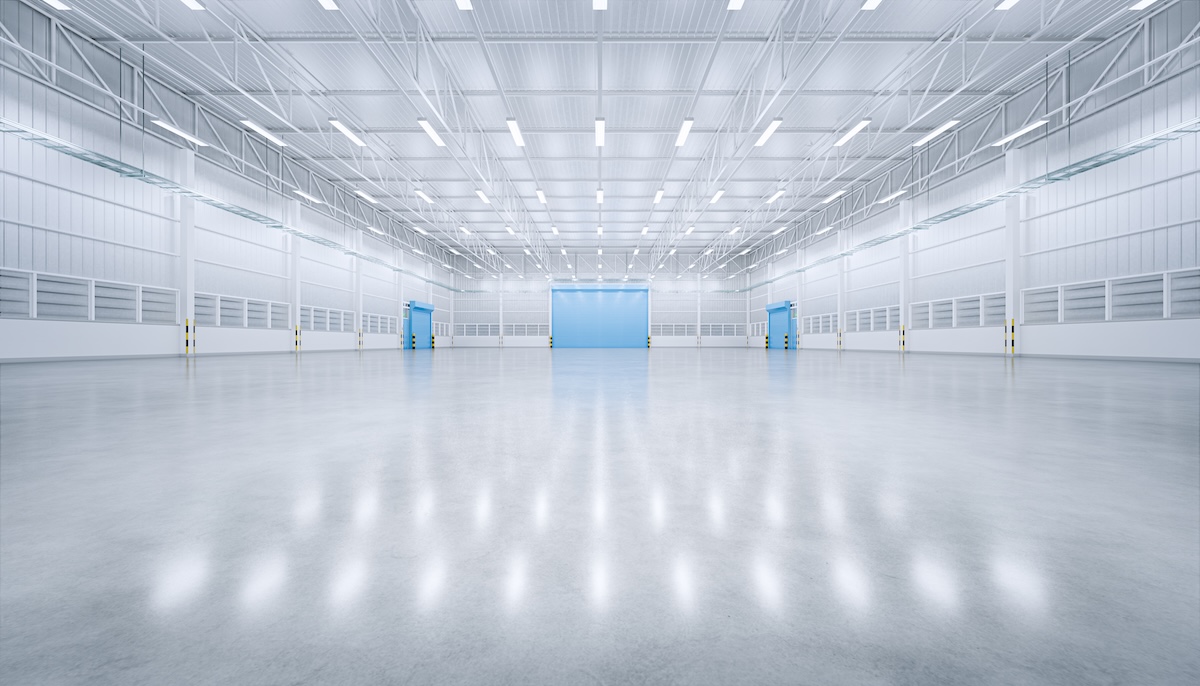
What is Concrete Sealing?
Concrete sealing occurs when a concrete sealer is applied to a concrete surface, creating a layer that is more resistant to water damage, corrosion, and natural wear and tear from machinery and foot traffic.
Concrete is naturally more resistant to water damage and erosion than other surfaces, which is why experts in the industry debate the necessity of concrete sealing, as well as how often a concrete sealer should be applied. However, when applied correctly, studies have shown that an application of concrete sealer can increase the longevity of your concrete surface. This can save you significant time and money, as a complete restoration of your concrete surface is an extensive repair.
Types of Concrete Sealers
Concrete sealers are not a one size fits all solution. There are many different types of concrete sealers, each with their own pros and cons. The different types of concrete sealers are:
-
Epoxy/polyurethane sealers
Epoxy and polyurethane sealers are the most common type of concrete sealers, due to their high performance and resistance to yellowing under sunlights. Epoxy sealers are often used in high-traffic areas where equipment and foot traffic is unavoidable. However, epoxy/polyurethane sealers tend to cost more than their competitors.
-
Acrylic based sealers
Acrylic based sealers are a lower cost option, and in some cases may be suitable for your concrete surface. They perform well, but a common problem with acrylic based sealers is yellowing under direct sunlight. Acrylic sealers are a quality choice for concrete surfaces inside of a facility.
-
Penetrating sealers
Penetrating sealers penetrate the concrete surface and form a chemical bond to protect against water damage and corrosion. These sealers are perfect for areas where stains are likely (like a garage or motor pool), and don’t leave a glossy sheen like most sealers. However, penetrating sealers often cost more than other concrete sealers.
Choosing the right type of sealer will heavily depend on several factors, such as environmental conditions, the amount of traffic the surface is subjected to, and what you intend on using the surface for.
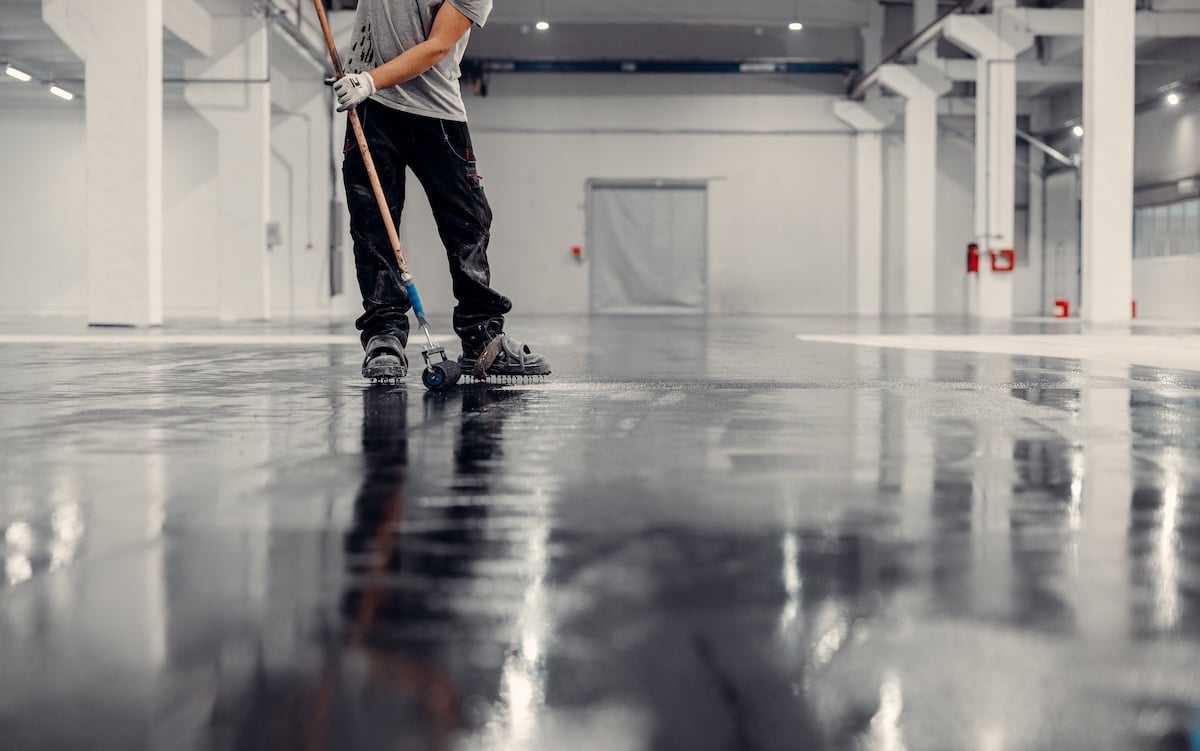
How to Seal Concrete
Applying a concrete sealer is a delicate process. If you are not experienced with this type of work, hiring a concrete sealing contractor may be your best option to avoid disasters. Industrial flooring that is not properly sealed can cause worse damage to your surface, and you may have to start the process all over again. However, if you are feeling extra handy, the steps are:
Surface Preparation
-
Sweep the surface
Sweep the surface of any loose debris and dust that might cause a bad seal between the sealant and the concrete.
-
Clean the surface thoroughly
Asses for any spills that you might not have seen before you swept the surface. Chemical spills, as well as stains from motor oil, can cause a bad seal between the sealant and the concrete. These types of spills can also cause the chemical reaction in penetrating sealers to not work effectively.
-
Mop the surface
Mop the surface to remove any excess dirt that has accumulated while dusting and cleaning. This step will be repeated throughout the concrete sealing process.
-
Allow the surface to dry, and assess for deficiencies
Allow the surface to fully dry before you move on to the next step. At this point, you should assess your surface for any cracks and deficiencies that could cause a bad seal when the concrete sealer is applied.
Remove Old Concrete Sealer
-
Test for previous sealer
Previously applied concrete sealer can cause huge problems when applying your new sealer. To test for sealer, pour liquid (preferably water to prevent damage and staining) on top of the surface and determine if the water beads up or seeps through. If the surface is water resistant, it has most likely been sealed before.
-
Strip the sealer
To strip existing sealers, most people prefer to use a chemical stripper. Sandblasting is a common practice for industry professionals, but it requires knowledge and expertise to perform correctly, and can damage your concrete if done improperly.
-
Scrape the existing sealer, and clean again
Scrape the existing sludge and grime away from the surface. This will be the remnants of your existing sealer after it has been chemically stripped. After you have removed most of the sealer, clean the surface with TSP and water to remove any remaining sealer.
-
Allow the surface to dry
After you have cleaned the surface, allowing the surface to dry properly is imperative before you move onto application of your new sealer.
Apply the New Sealer
-
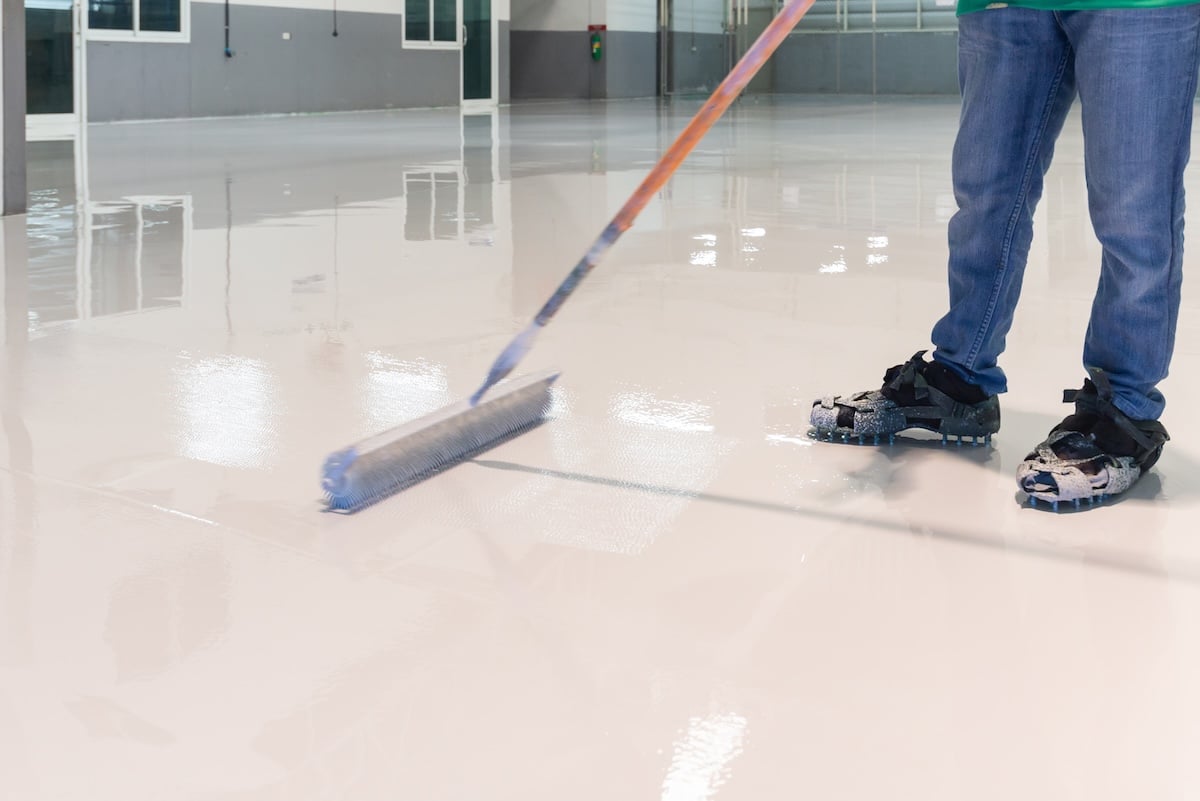
Apply the first coat of sealer
It is finally time to start applying your new concrete sealer. Apply the first coat, and wait until it fully dries before applying the second. For proper wait times, read the directions on your concrete sealing product.
-
Apply the second coat of sealer
After the first coat has fully dried, apply the second coat of concrete sealer.
-
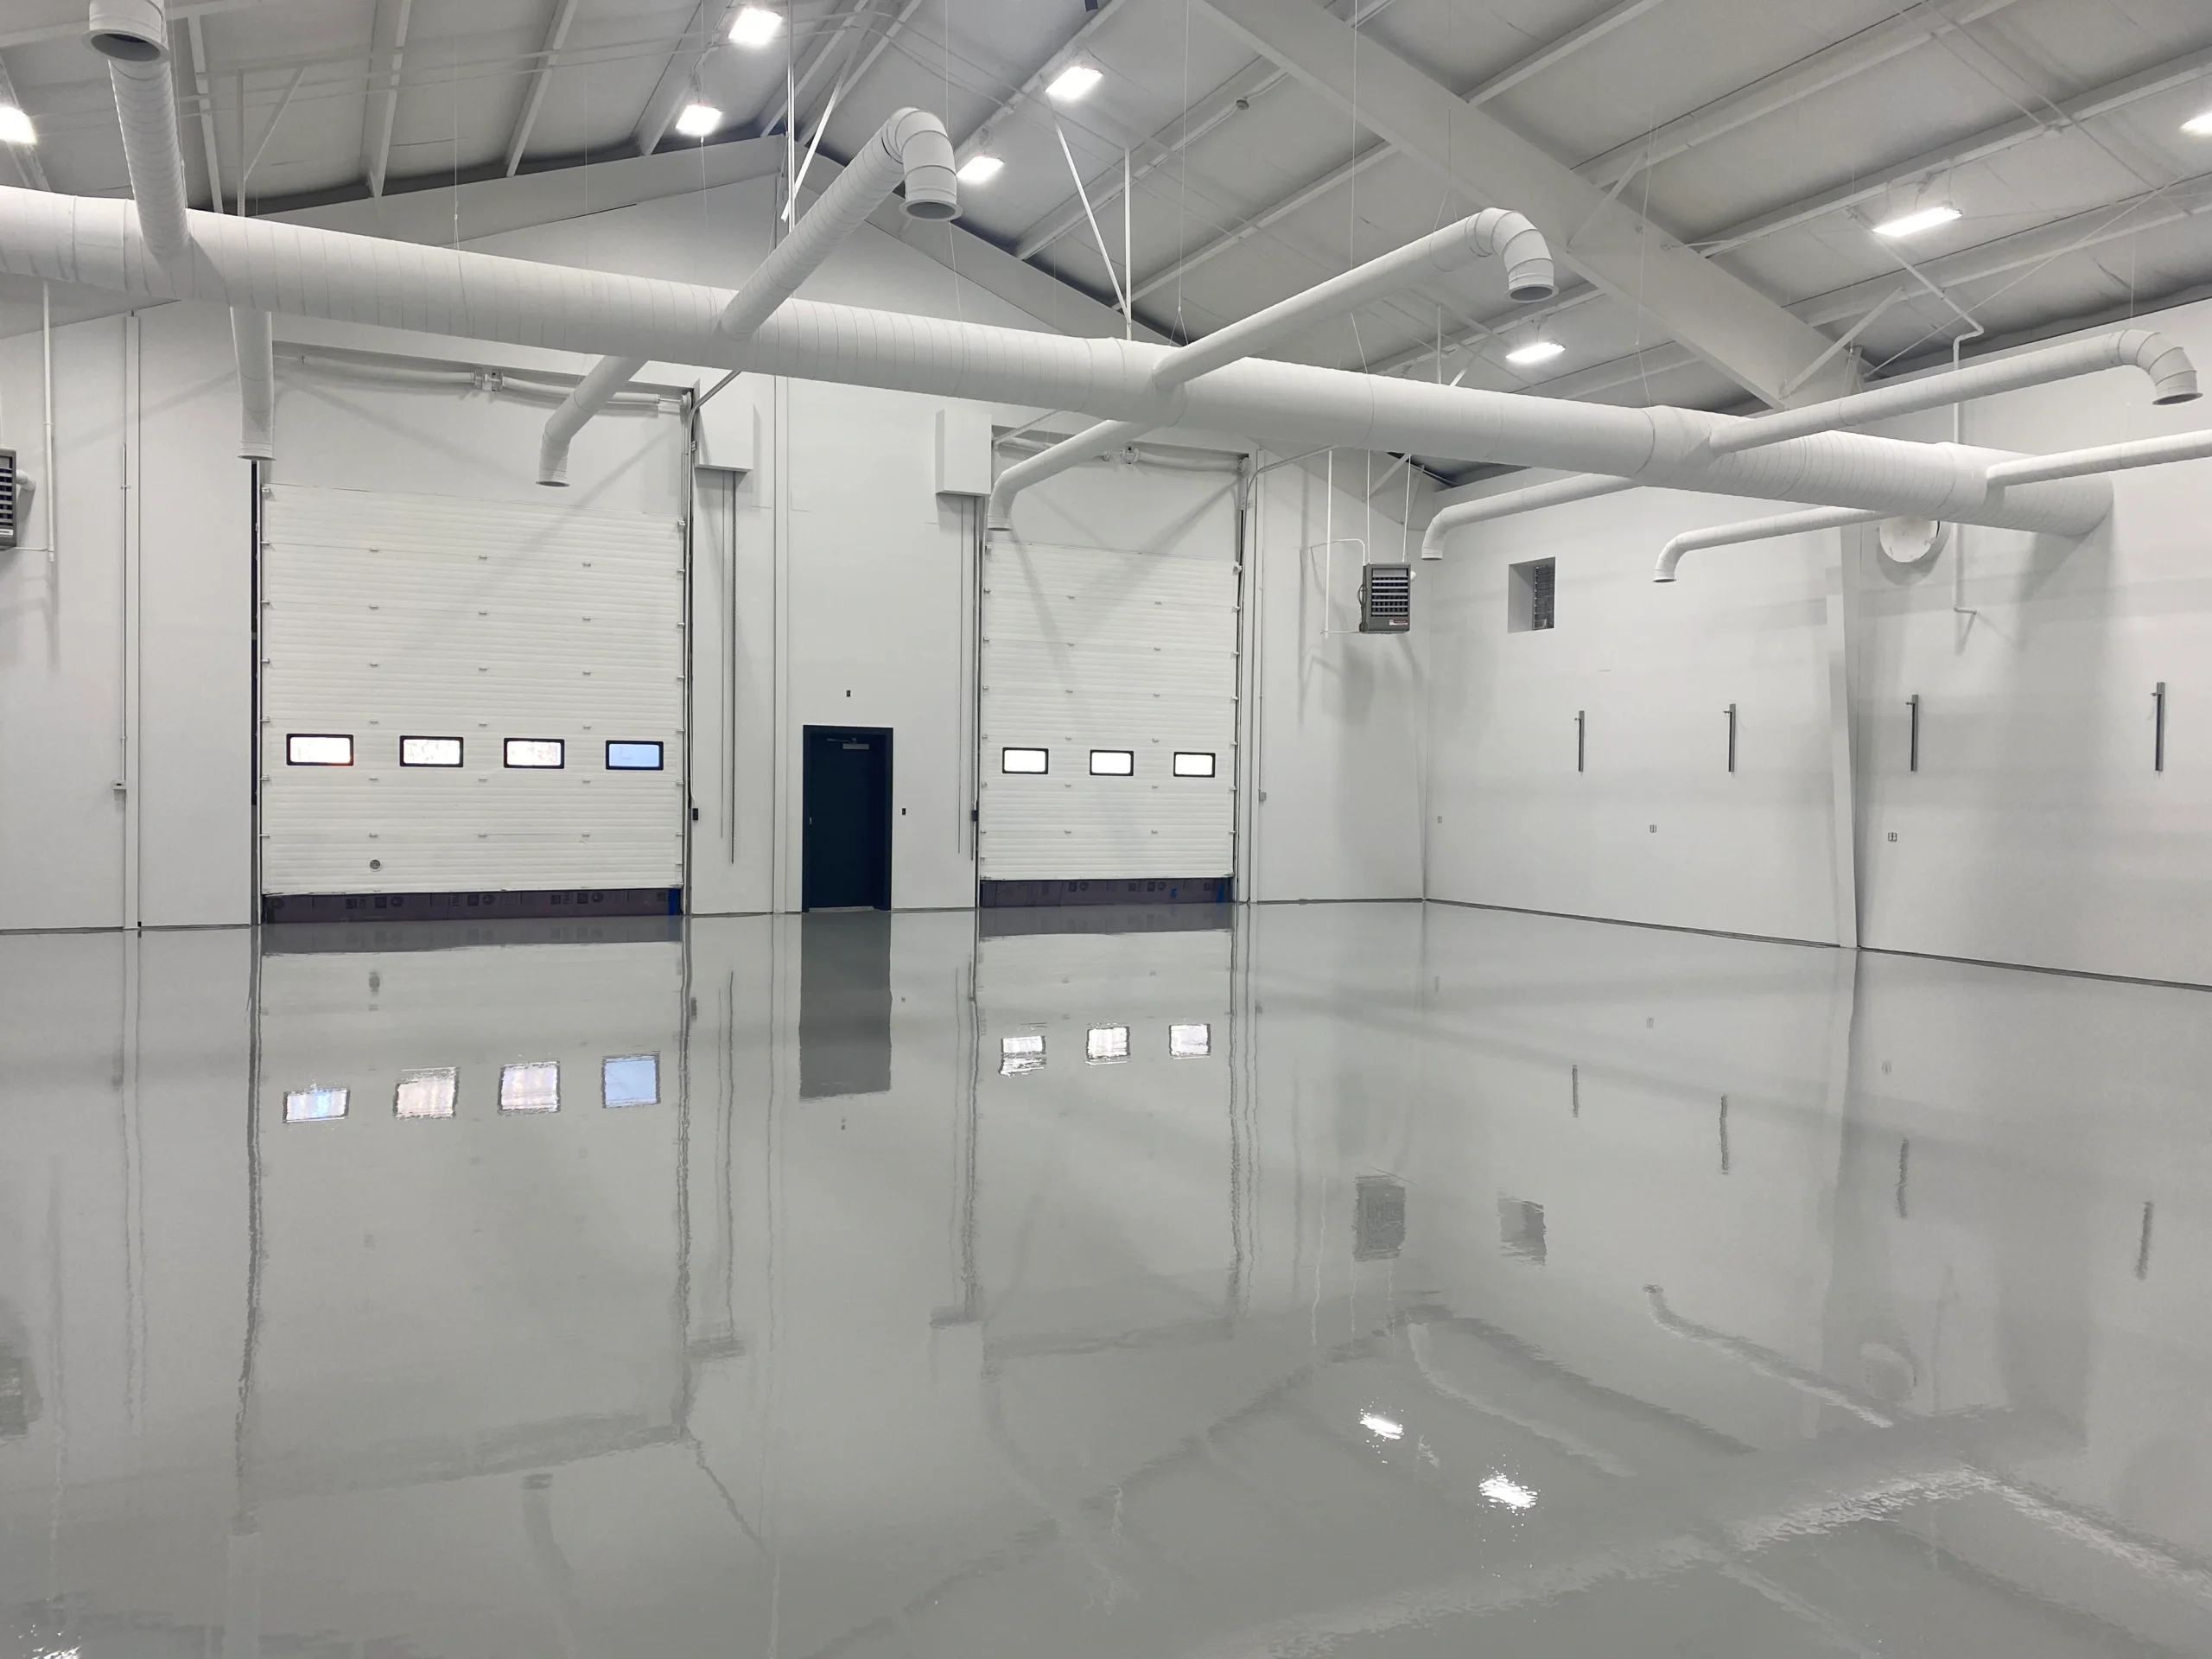
Allow the sealer to dry
Once both coats of concrete sealer have been applied, allow the surface to dry completely. Once this step is complete, you have finished the concrete sealing process! If applied correctly, your concrete surface now has an added layer of protection to prevent water damage, staining, and corrosion.
Scrape the existing sludge and grime away from the surface. This will be the remnants of your existing sealer after it has been chemically stripped. After you have removed most of the sealer, clean the surface with TSP and water to remove any remaining sealer.
-
Allow the surface to dry
After you have cleaned the surface, allowing the surface to dry properly is imperative before you move onto application of your new sealer.