A fresh coat of paint can instantly transform a space—but only if the surface underneath is properly prepared. Skipping the basics of surface preparation for painting leads to premature peeling, uneven finishes, and costly rework. Whether you’re repainting a warehouse wall or updating a high-traffic corridor in Framingham and surrounding areas, understanding the right steps can make all the difference. This is especially true when upgrading surfaces that tie into broader renovation efforts or projects that might benefit from the same level of attention.
Here’s what you’ll learn in this guide:
- Why surface prep is the key to long-lasting paint
- The exact steps professionals follow for successful prep
- Common mistakes to avoid before you paint
- How material and environment affect preparation needs
- When it’s time to bring in a professional team
Why Surface Prep Is the Backbone of Any Paint Job
You might be tempted to jump straight into painting, but the real magic happens before a single drop of paint hits the wall. Without proper preparation, even the best paint won’t adhere well—and it certainly won’t last.
- Stronger Adhesion: Clean, dry, and properly primed surfaces allow paint to bond more securely, minimizing flaking and blistering.
- Professional Finish: Smooth, defect-free surfaces make the color and sheen more consistent and visually appealing.
- Extended Durability: A well-prepped surface resists wear, moisture, and daily stress longer, especially in commercial settings.
- Saves Time & Money: Preventing paint failure means fewer repaints, less labor, and fewer disruptions down the line.
- Boosts Property Value: Whether it’s a commercial office in Framingham and surrounding areas or a public facility, proper prep delivers long-term returns on investment.
7 Steps for Proper Surface Preparation
Every successful paint job follows a detailed surface prep process. Here’s a breakdown of the steps pros use to ensure a solid foundation.
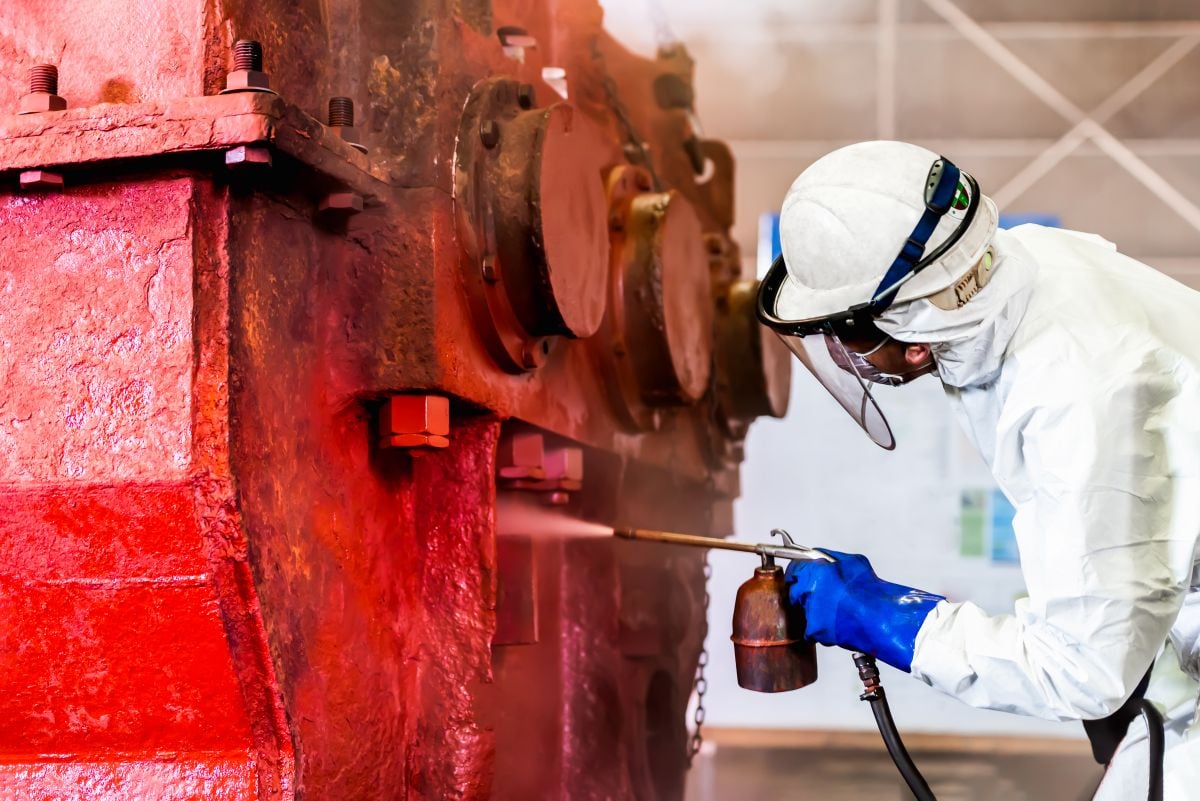
1. Assess the Surface Material
Before doing anything, identify the type of surface you’re working with. Wood, drywall, metal, concrete, and plaster each require different treatment.
- Metal may need rust removal and specialty primers
- Concrete may require acid etching or patching
- Drywall might need seam repairs or sanding
This first step informs all the others that follow, from tools to techniques.
2. Inspect for Damage
Don’t cover up problems—address them. Cracks, mildew, flaking, and holes should be repaired before painting begins.
- Look for water stains or structural issues
- Check for efflorescence on masonry walls
- Address moisture or leaks to prevent paint failure
Small imperfections are magnified under fresh paint, so now is the time to fix them.
3. Remove Old Paint or Coatings
If the surface has peeling or loose paint, it needs to go. Painting over old, unstable coatings leads to quick failure.
- Use scrapers or chemical strippers for large areas
- Sanding is helpful for smoothing rough patches
- For exterior or industrial jobs, pressure washing may be used
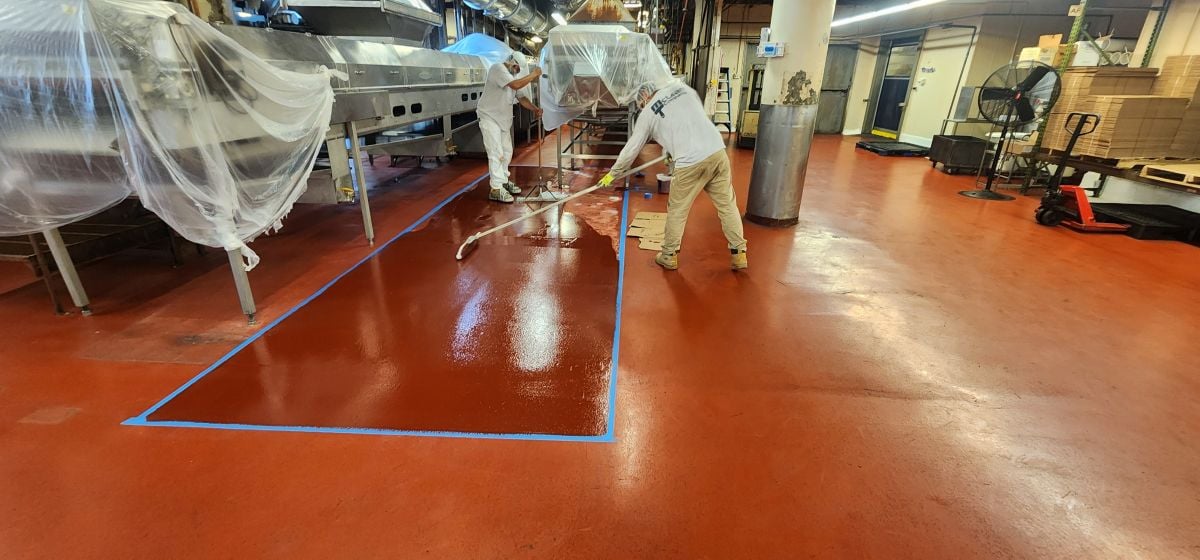
In some commercial spaces around Framingham and surrounding areas, this step also includes removing outdated signage or epoxy coatings.
4. Clean the Surface Thoroughly
Dust, grease, and grime interfere with paint adhesion. A clean surface gives new paint the best chance to stick.
- Use degreasers or mild detergents depending on the surface
- Rinse completely and allow time to dry
- For ceilings or exteriors, make sure mold and mildew are eliminated
Even fingerprints can disrupt paint if not removed, especially on smooth interior surfaces.
5. Sand & Smooth
Once clean, sanding helps create a uniform surface that holds paint well.
- Sand wood to remove splinters or old gloss
- Feather edges where paint was removed
- Use fine-grit sandpaper for delicate materials
Be sure to vacuum or wipe down the area after sanding to remove residual dust.
6. Repair and Caulk
Fill holes, cracks, and gaps for a seamless finish. Joint compound, spackle, or caulk may be used depending on the substrate.
- Repair nail holes and dents in drywall
- Caulk joints between trim and walls
- Smooth repairs flush to surrounding areas
This not only improves the look but also protects against moisture intrusion.
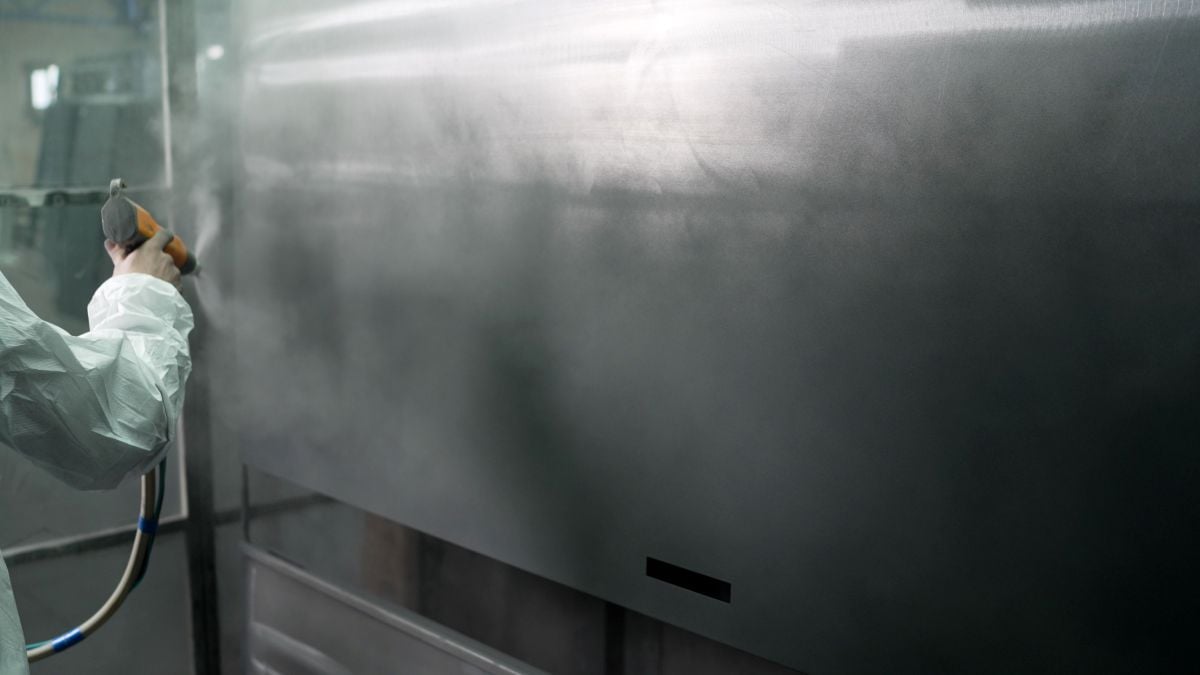
7. Prime the Surface
Primer is the final step before painting, and it should never be skipped. It ensures consistent color and performance.
- Use stain-blocking primers for water or smoke damage
- Choose metal primers for steel, aluminum, or iron
- For porous materials like concrete, use masonry primers
Some high-performance primers also add fire resistance or mildew protection, depending on building needs.
Common Mistakes That Undermine Paint Jobs
Even with the best intentions, homeowners and facility managers can make mistakes that lead to subpar results. Here’s what to avoid:
Poor Cleaning Habits
Skipping the cleaning step is one of the top reasons paint fails prematurely. Always clean, rinse, and let the surface fully dry before painting.
Using the Wrong Primer
Not all primers are universal. Matching the primer to the material and environment is crucial for long-term performance.
Painting Over Moisture
Trapped moisture beneath paint can cause bubbling, peeling, and mold. Use moisture meters or allow extra drying time in humid conditions.
Rushing the Process
Each step in surface preparation takes time. Rushing through sanding or skipping repairs might save hours now but cost days later when touch-ups are needed.
How Conditions Affect Surface Prep
Every building is different, and local conditions in Framingham and surrounding areas can change how you approach prep. Factors like temperature, humidity, and surface age can influence what’s required.
Indoor vs Outdoor Surfaces
Exterior prep often involves power washing, mildew removal, and more resilient primers. Interior prep usually prioritizes finish quality and cleanliness.
New Construction vs Repaint Projects
Bare drywall or concrete in new builds requires sealing and sanding. Repaints may involve patching, scuffing, and stain-blocking primers.
Historic Buildings or Sensitive Surfaces
Older buildings may require gentler prep methods or special products to preserve plaster, wood, or stone.
High-Traffic Areas
Hallways, stairwells, and entry points benefit from abrasion-resistant coatings—but only if the prep work is strong enough to support it.
When to Hire a Professional Painting Contractor

There’s a big difference between DIY prep for a bedroom wall and prepping a 20-foot metal ceiling in a commercial space. Here’s when to consider hiring a pro:
| Scenario | Why It Matters |
| Large commercial buildings | Professional tools, crews, and safety protocols speed up the process |
| Irregular or textured surfaces | Experience ensures even coverage and proper adhesion |
| Health-sensitive areas (e.g. healthcare, schools) | Compliance with VOC and EPA standards is critical |
| Moisture or mold concerns | Experts can identify and correct root causes |
| Strict timelines | Professionals can coordinate crews to hit deadlines without compromising prep quality |
In regions like Framingham and surrounding areas, building codes and facility standards often require certified or insured crews for liability and performance.
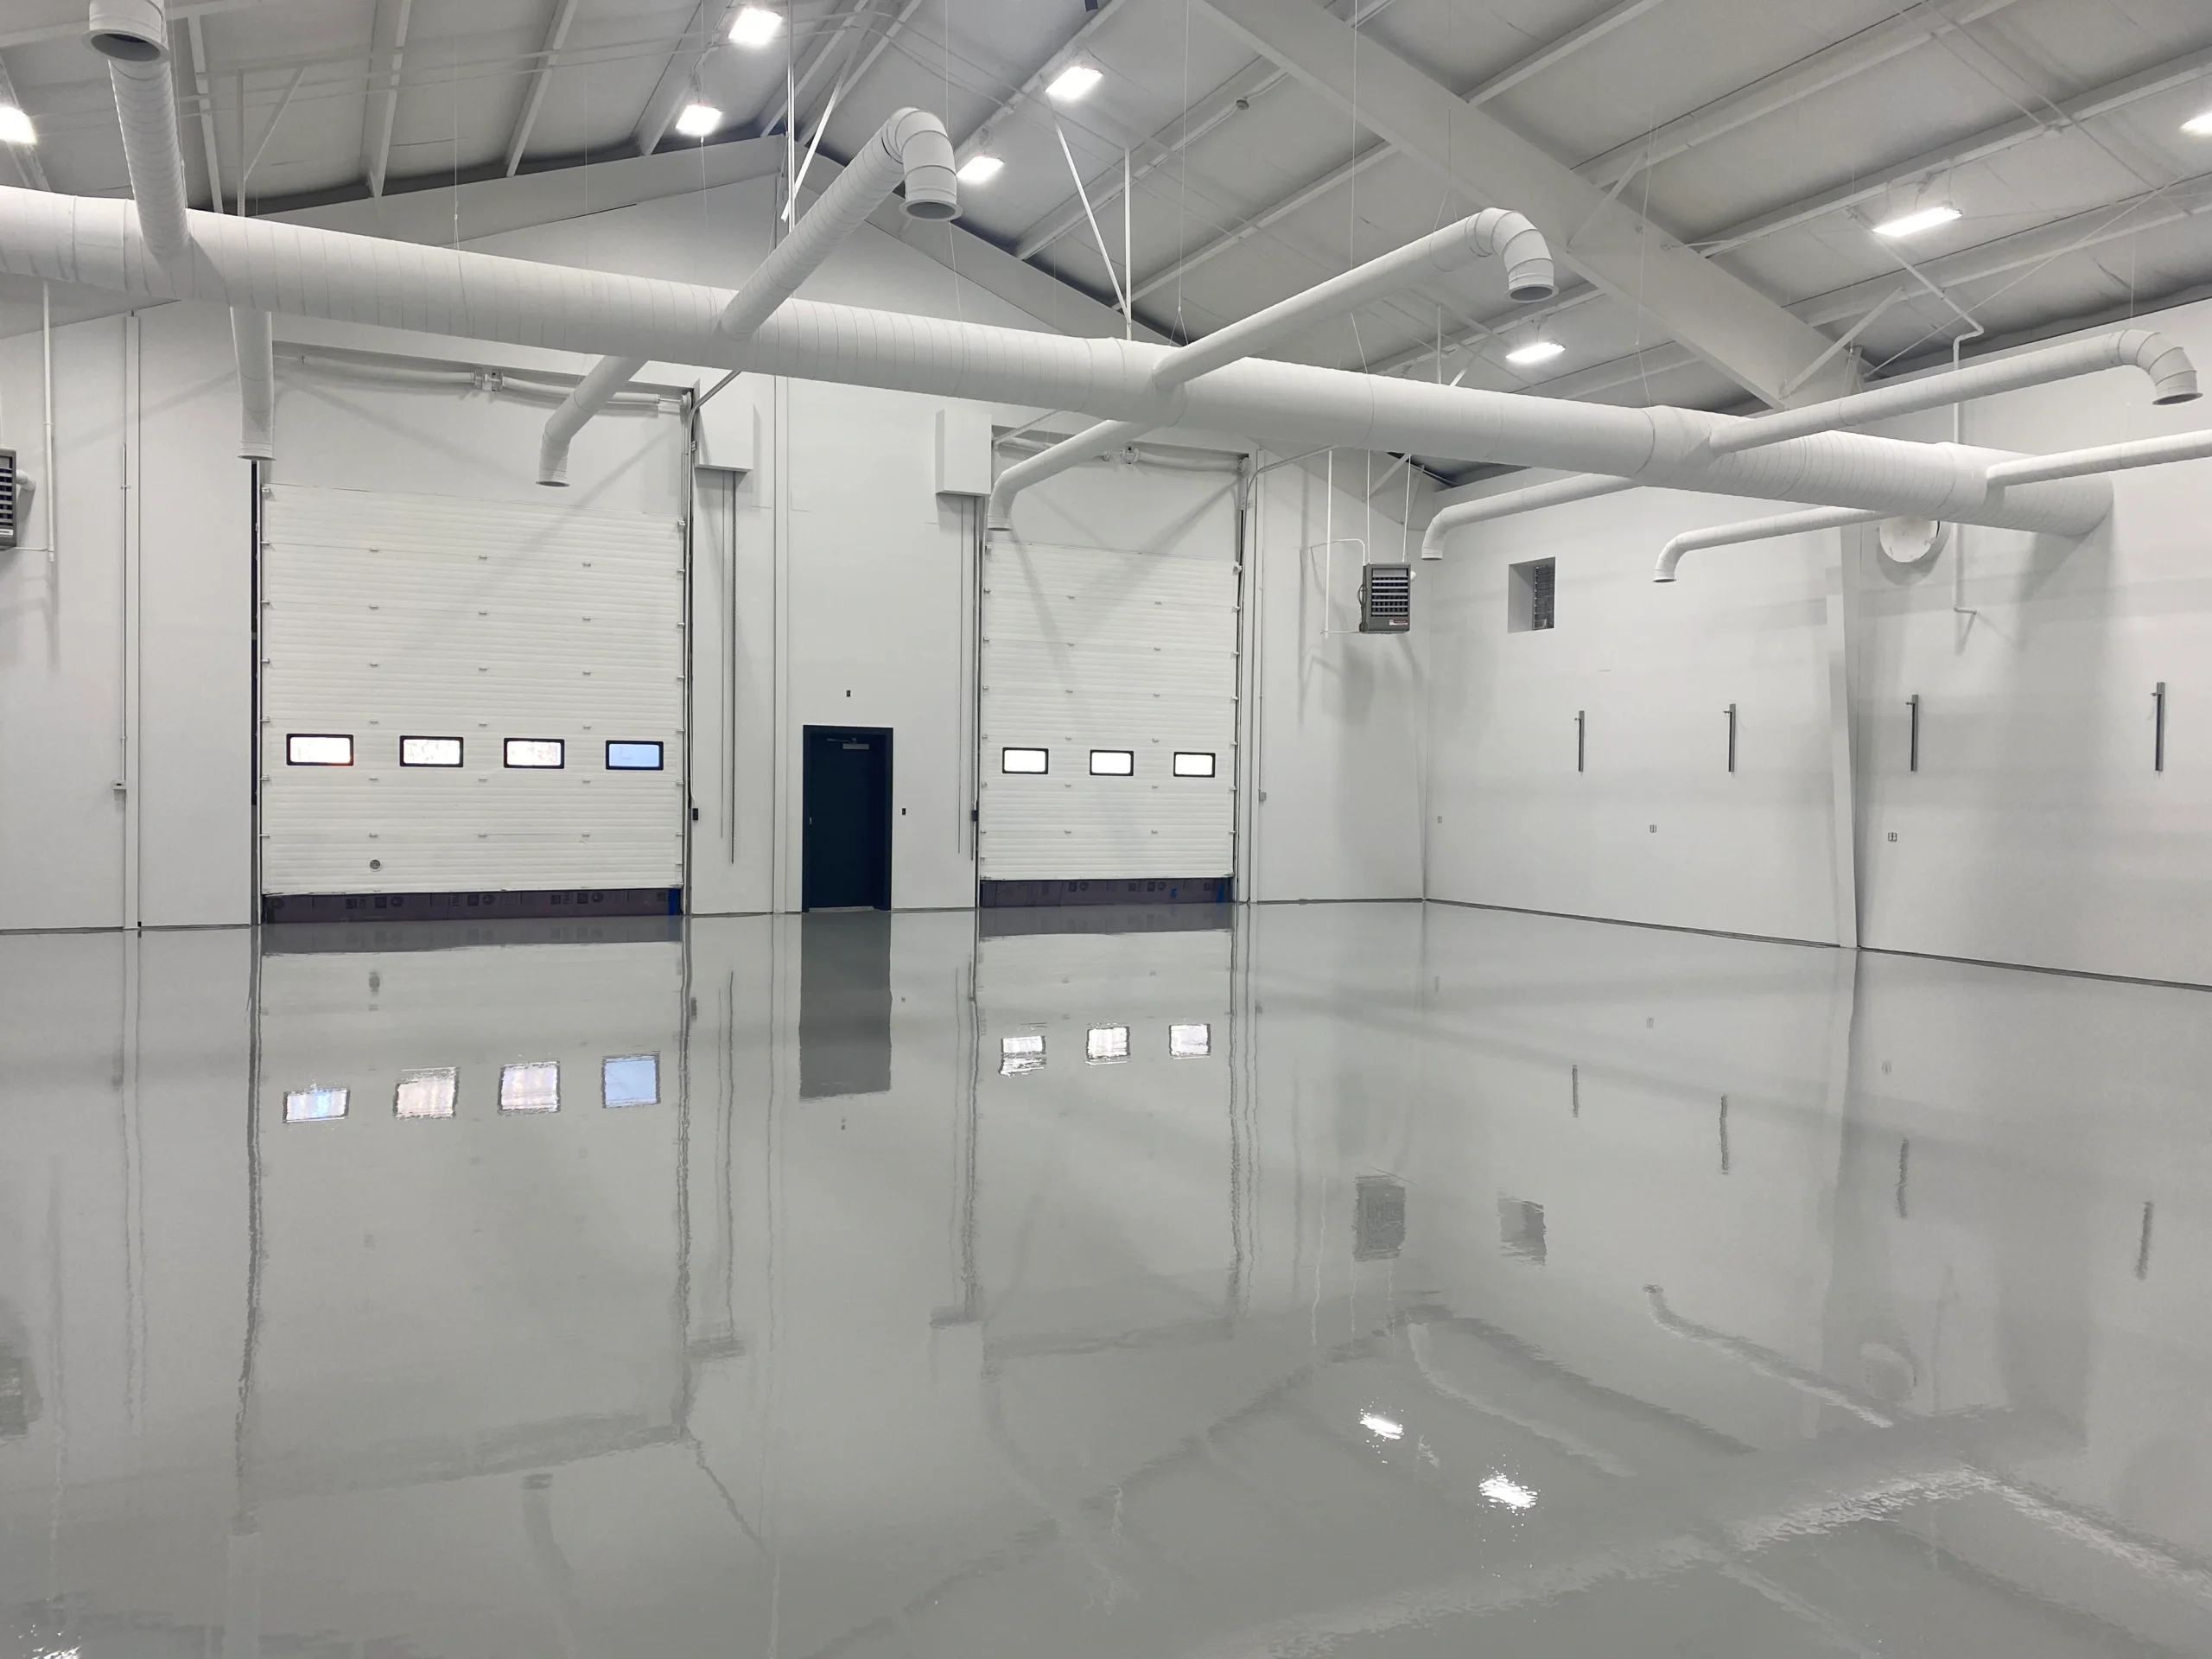
Final Thoughts on Painting Prep
Proper surface preparation is more than a checklist—it’s the foundation for a successful, long-lasting paint job. Whether you’re managing a large office complex or maintaining a public building in Framingham and surrounding areas, every surface tells a story. Getting it right the first time saves time, improves results, and protects your investment.
If you’re unsure about how to approach prep in your facility, McLean Company is here to help. Our team ensures every inch is cleaned, repaired, primed, and ready—so the final coat performs exactly as expected. For full-service commercial painting and more, contact us today to schedule a walkthrough or learn more about our tailored solutions. Let McLean Company deliver the surface readiness your project deserves.