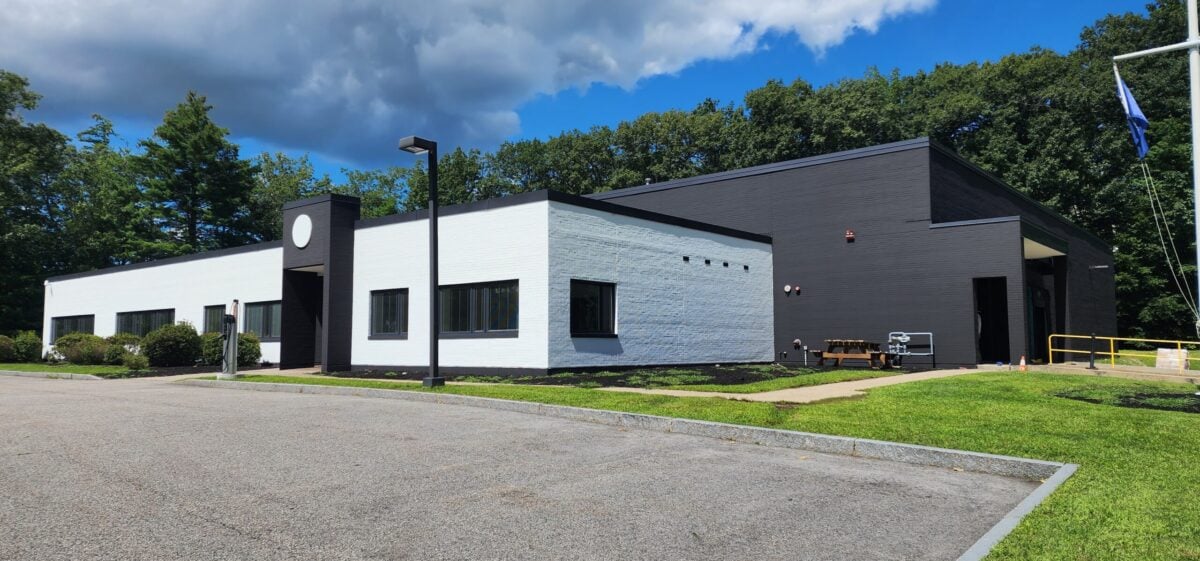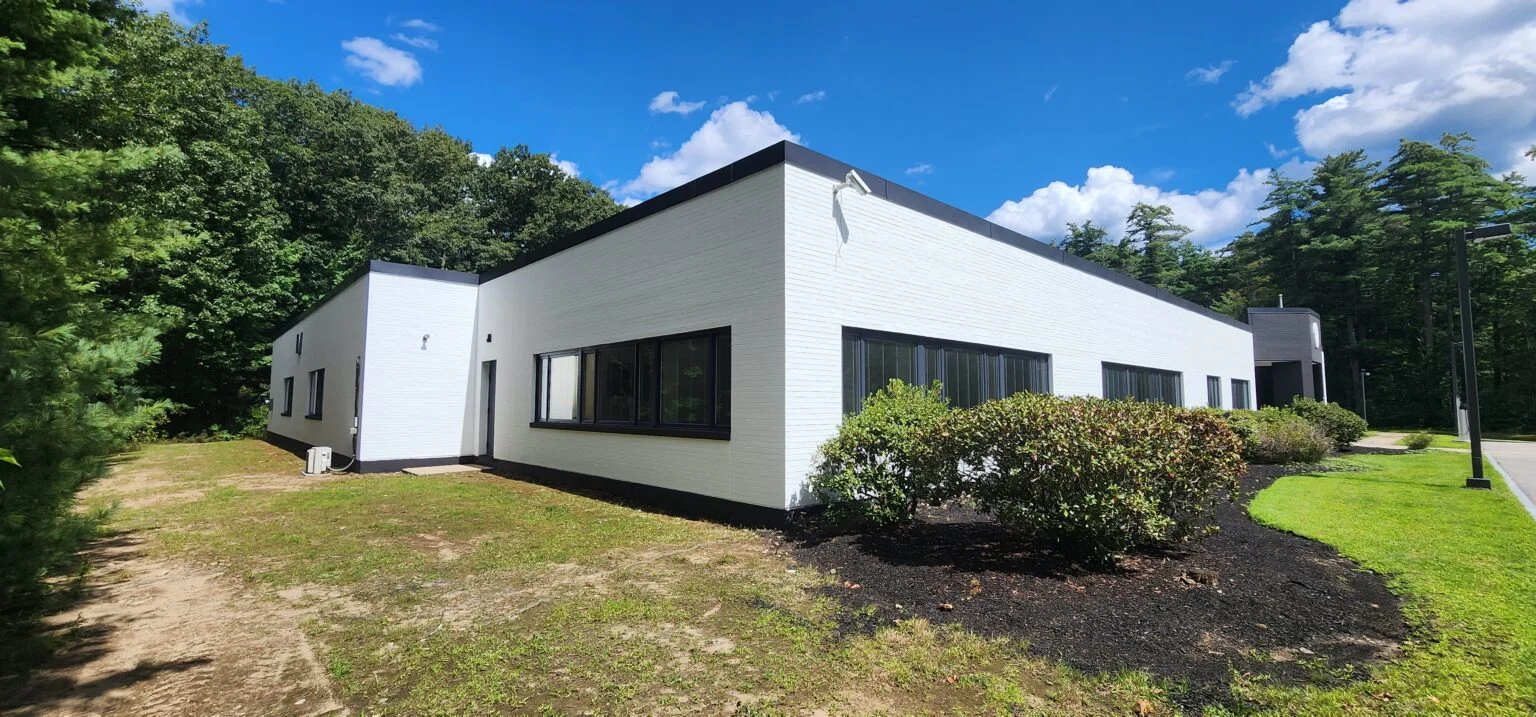
A smooth, professional-looking finish can quickly be ruined by even a small paint drip, turning an otherwise clean project into something uneven and messy. Whether you are working on a home update or maintaining a commercial space, preventing drips is essential for long-lasting results. Many property owners rely on professional interior and exterior painting solutions for high-traffic spaces when they want a consistent finish without imperfections.
In this guide, you will learn:
- What causes paint drips and how to prevent them
- Simple ways to fix drips before and after they dry
- Techniques professionals use for smooth finishes
- Tools and materials that help reduce mistakes
Why Preventing Paint Drip Is Essential for a Quality Finish
Paint drips are not just a minor inconvenience. They can affect how the coating looks, dries, and performs over time. Uneven paint buildup often leads to weak spots that may crack, peel, or wear down faster than the surrounding area.
In Hartford, CT and surrounding areas, changing humidity and temperature levels can slow drying times, making drips more likely if proper techniques are not used.
Here is why preventing paint drips should be a priority:
- Clean Appearance: Smooth surfaces create a polished, professional look
- Better Adhesion: Even coats bond properly and last longer
- Less Rework: Avoiding drips saves time spent sanding and repainting
- Consistent Finish: Balanced application improves drying and texture
- Improved Durability: Proper application helps paint hold up over time
Understanding these benefits makes it easier to focus on prevention from the start.
7 Common Causes of Paint Drip and How to Avoid Them
Paint drips usually happen because of simple mistakes that can be corrected with the right approach. Identifying these causes helps you improve your results.
1. Applying Too Much Paint
Using too much paint at once is the most common reason drips occur.
- Excess paint gathers and runs downward
- Thick layers take longer to dry
- Uneven buildup creates visible lines
How to avoid it:
- Apply thin, even coats
- Remove excess paint from your brush or roller
- Build coverage gradually
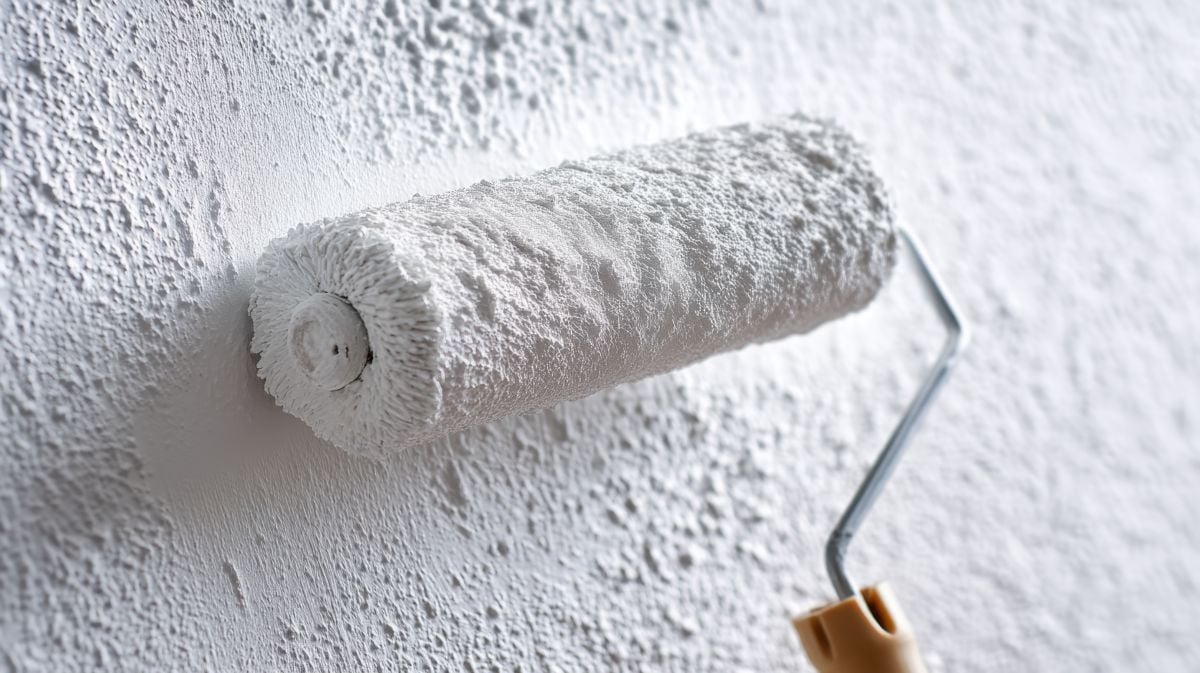
2. Poor Brush or Roller Technique
Inconsistent movement can cause uneven application.
- Stopping in one spot leads to buildup
- Uneven strokes create heavy areas
- Too much pressure pushes paint into lines
How to avoid it:
- Use steady, smooth strokes
- Maintain even pressure
- Keep moving to avoid pooling
3. Using Low-Quality Tools
Cheap tools make it harder to control paint flow.
- Brushes may leave streaks
- Rollers may hold too much or too little paint
- Uneven application increases drip risk
How to avoid it:
- Use high-quality brushes and rollers
- Choose the right tool for your surface
- Keep tools clean during use
4. Painting Vertical Surfaces Incorrectly
Walls and other vertical surfaces are more prone to drips due to gravity.
- Paint runs downward if applied too heavily
- Fast application can lead to uneven coverage
- Thick coats increase sagging
How to avoid it:
- Start at the top and work downward
- Use light, controlled coats
- Check for drips as you go
5. Ignoring Environmental Conditions
Temperature and humidity affect how paint behaves.
- High humidity slows drying
- Heat can cause uneven drying
- Poor airflow traps moisture
How to avoid it:
- Paint in moderate conditions
- Ensure proper ventilation
- Follow manufacturer guidelines
6. Skipping Surface Preparation
Unprepared surfaces can cause paint to gather unevenly.
- Dirt and grease prevent proper adhesion
- Rough surfaces create buildup
- Lack of primer leads to uneven absorption
How to avoid it:
- Clean surfaces thoroughly
- Sand rough areas
- Apply primer when needed
7. Working Too Slowly
Taking too long in one area can cause paint to accumulate.
- Paint begins to sag before spreading
- Uneven layers develop
- Drips form as paint settles
How to avoid it:
- Work in manageable sections
- Keep a steady pace
- Blend each section as you go
Understanding these causes helps you prevent issues before they start.

Professional Techniques for a Smooth, Drip-Free Finish
Professional painters rely on specific methods to maintain control and consistency throughout the project. These techniques can significantly improve your results.
Apply Multiple Thin Coats
Instead of trying to cover everything in one pass, professionals build layers gradually.
- Thin coats dry more evenly
- Less risk of sagging or dripping
- Better control over final appearance
Maintain a Wet Edge
Keeping a wet edge ensures smooth transitions between sections.
- Overlap strokes slightly
- Avoid letting paint dry between passes
- Work in small, consistent areas
Use Back-Brushing or Back-Rolling
This technique helps distribute paint evenly after application.
- Smooths out heavy areas
- Reduces buildup
- Improves overall finish
Inspect as You Go
Catching drips early makes them easier to fix.
- Look for uneven spots immediately
- Smooth out drips before they dry
- Keep lighting consistent to spot issues
In Hartford, CT and surrounding areas, these techniques are especially helpful when dealing with changing environmental conditions.
Tools and Materials That Help Prevent Paint Drip
Using the right tools and materials can make a major difference in achieving a smooth finish.
High-Quality Brushes and Rollers
Better tools provide better control.
- Even paint distribution
- Reduced streaks and buildup
- More consistent application
Paint Conditioners and Additives
Additives can improve how paint flows and levels.
- Help paint spread evenly
- Reduce visible brush marks
- Extend working time
Proper Paint Selection
Choosing the right type of paint is important.
- Thicker paints may need thinning
- High-quality paints provide better coverage
- Products designed for vertical surfaces reduce sagging
Tool Comparison for Drip Prevention
| Tool Type | Control Level | Drip Risk | Finish Quality |
| Low-Quality Tools | Low | High | Uneven |
| Standard Tools | Moderate | Moderate | Acceptable |
| Professional Tools | High | Low | Smooth |
This comparison shows how investing in better tools can improve results.
How to Fix Paint Drips After They Happen
Even with careful preparation, drips can still occur. Knowing how to fix them can save your project.
Fixing Wet Drips
If you catch a drip early, it is easy to correct.
- Smooth it out with a brush or roller
- Blend it into the surrounding area
- Work quickly before it dries
Fixing Dry Drips
Once a drip has dried, it requires more effort.
- Sand the area until smooth
- Clean off dust
- Apply a new, even coat of paint
Preventing Future Problems
Learning from mistakes helps improve your technique.
- Use less paint per coat
- Monitor application closely
- Adjust your tools and approach
Taking the time to fix drips properly ensures a consistent finish.

Get a Smooth Finish Without the Hassle
Avoiding paint drips is one of the most important steps in achieving a clean, professional result. By using the right techniques, tools, and materials, you can improve both the appearance and durability of your project.
For property owners in Hartford, CT and surrounding areas, attention to detail can make a noticeable difference in how surfaces look and perform over time. Whether you are handling a small project or maintaining a larger space, the right approach ensures lasting results.
If you prefer a flawless finish without the guesswork, McLean Company is here to help. Reach out to contact us today to discuss your project and get expert support for a smooth, professional outcome.